Tuesday, March 4, 2014

Making Compost Tea


I started making compost tea a few weeks ago. It turns out to be really easy and seems to be worth the effort. The plants seem to have responded really well after watering them with the tea. They look more healthy and green, the stalks seem more sturdy and the leaves more perky. From what I have read about it, the beneficial microbes help form a waxy protective substance on the leaves that will deter most pests and protect the plant from disease.

So far, I have been brewing in a 5 gallon bucket with an air pump hooked to a bucket aerator. I mix about 2 cups of earthworms castings, 1/4 cup of organic unsulfured molasses, 1 ounce of liquid karma, 1 tablespoon each of humic acid and superthrive.  Then I let it aerate (make tea) for about 24 hours. Then carefully pour or spray it on the plants. The molasses is a crucial part because the natural sugars feed the aerobic bacteria and make them multiply greatly in numbers. The other items are not as crucial. You can use regular compost in a netted bag instead of the castings to save money. The other things I add are just some ideas I came up with researching how to make the tea on the internet. Of course, there are alot of products out there, some specific to certain plants such as BU's Biodianamic Compost for Tomatoes that you might want to try. I bought some of it but haven't tried it yet because its winter and I have no tomatoes yet. You can also add some natural fertilizer such as liquid kelp, bloodmeal, bonemeal, etc. to help boost your plants. My plan is to try and add the tea to all my plants once a week.This spring, I will construct a 25 gallon compost tea maker for the garden using a 32 gallon garbage can, PVC piping and a much larger air pump and tea bag. That should help to cover the entire garden once a week with the tea.

 If you are going to try and make you own compost tea, make sure you start with unchlorinated water and aerate the tea 24 hours and use it within 6 hours because you only want the beneficial aerobic bacteria getting to the plants and their roots. Chlorinated water will kill the beneficial microbes. I have an attachment to my hose that removes chlorine but you can also let the water sit 24 hours for it to dissipate or aerate just the water a few hours and that should do the trick. The aerobic bacteria helps the plants to take up more nutrients, carbon dioxide and protects it from diseases and pests. On the other hand, anaerobic bacteria is bad for the soil, plants and possibly those who eat them. It can spread disease, ruin the soil and kill the plants so don't let the water sit more than 6 hours.

I also recently purchased the Worm Factory and ordered 1000 red wiggler composting worms from Uncle Jim's Worm Farm. I am hoping this system works to create my own worm castings since buying it by the bag gets expensive. I have the bin set up under the plant tables in the greenhouse since it is really cold outside. The directions say you can also keep it in a garage or indoors but I am not a big fan of worms and gnats in the house. Although I have only been using it a couple of weeks, I have seen a few gnats in the bin but they do not seem to be interested in leaving the bin and flying around the greenhouse. I will update this post later this spring or beginning of summer to report how this is going.

Some good links to products I use and information:

Videos:
 Compost Tea for growing BIG vegetables

Plans:
Plans for 25 gallon brewer

Products:

Monday, March 3, 2014

Getting ready for spring - time to plant some seeds!

I have been growing herbs, lettuce, carrots, kale, spinach, broccoli and cabbage all winter in the greenhouse. I started some new lettuce trays for spring a few weeks ago. Yesterday, I started some trays of flowers, basil, tomatoes, cucumber, peppers and peas. I use a heating mat with a thermostat to keep the seed trays at 70-75 degrees so that the seeds sprout well. I always plant more than I need so I can give some to family and friends that do not have the time nor greenhouse for such early planning. Here is some of my latest pictures:
Carrots

Seeds just started

Lettuce & Spinach

Kale, red leaf lettluce, cabbage

herbs - parsley, thyme, chives & rosemary

Fall/Winter projects - Outside kitchen & workshop

It has been a rough winter in Kentucky with record cold, ice and snow. We spent almost 3 days without power in the last ice storm. Yesterday, March 2nd was the 2 year anniversary of the West Liberty tornado. Instead of a tornado this year, we are having another ice/sleet/snow storm. Right now the snow is coming down hard with huge beautiful flakes and we have at least 4 inches on the ground with several more hours of snowfall to go. Despite the weather this year, we have stayed busy with our continual improvements of this place.


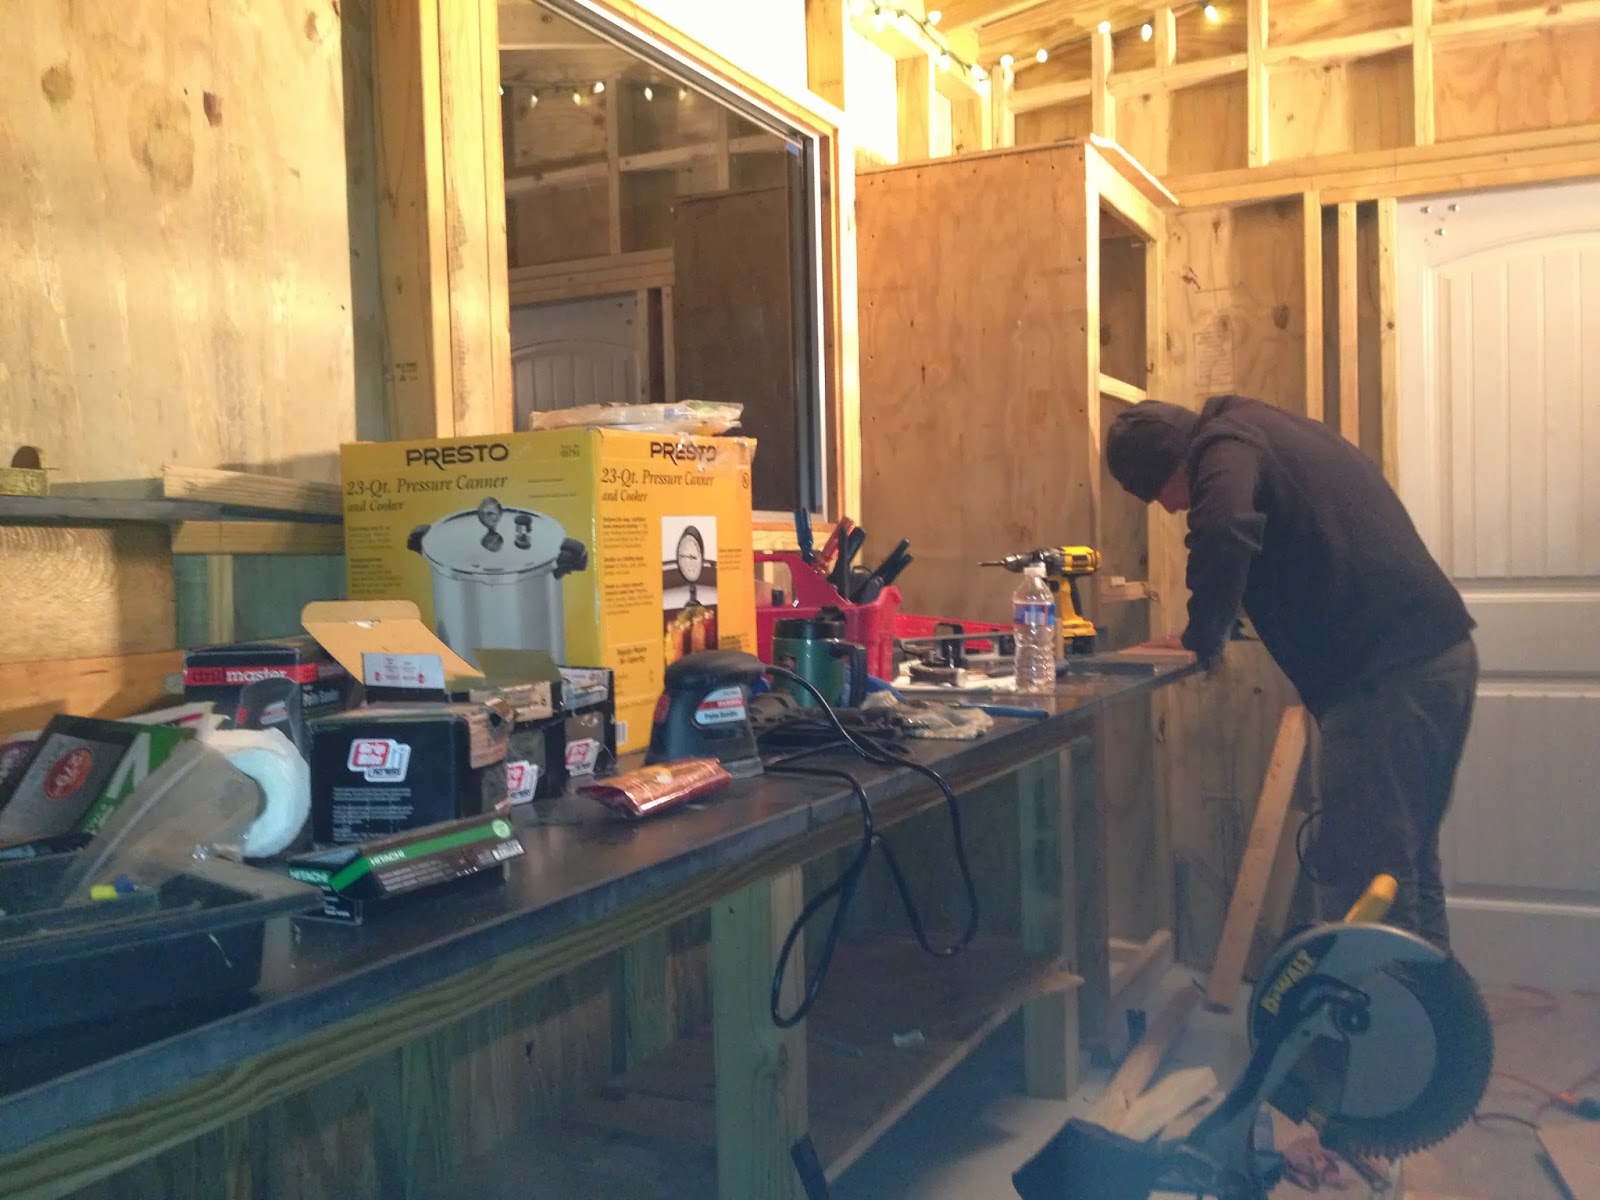
We have been working on finishing the outdoor kitchen/workshop that is the other side of the greenhouse. Over the fall we poured the concrete floor and framed it in. Over the winter, on the few warm days we have had, we put the metal roof on, installed 2 of the windows, installed a sliding door, installed a woodstove for heat and emergency cooking, built a workbench and closet, stained some boards different colors and attached them to the inside wall, and hung an old wagon wheel as a chandelier. We are not finished with it yet, we still have one more window to put in when it is warm enough to do it and some electric to run. We are also going to incorporate solar energy to power some lights and as a backup source of power or to run a few low demand items. There will be an outside bar installed under the awning at the outside two windows which will open all the way up and serve as a nice bar area for summer gatherings. For the most part, the difficult parts are finished and we love it! It is a multipurpose area where we can work on crafts and projects, clean and can veggies in the summer, store our chicken eggs in the outside frig and have an outdoor gathering place to hang out with friends and family in the warmer months of the year.


Many of the materials we used are getting their second life instead of becoming items in a la
ndfill somewhere and we saved ourselves some money by using them. The old wood stove was in the house when we bought it. It is not very efficient and the blower is kinda loud but it works great for this small area and makes it a functional area to work on things when it is cold out. We installed some old salvaged rusted metal roof sheeting to protect the walls behind the stove from the heat. I found the old wagon wheel at the peddlers mall for $30. We had some old rusty but sturdy chain and used that to hang it. Then I wrapped some energy efficient warm white LED lights on it to make it a chandelier. It's cool and one of a kind! I plan to add some more decorations to the wheel in the future such as some antlers and maybe some greenery. The windows are salvage that I obtained from a contractor doing a local remodel and are the same I used for the greenhouse. The counter-tops are old chemistry lab counters that I salvaged before they were on their way to the landfill. We bought the door at the peddlers mall for $10! It is solid wood and had no pre-drilled holes. I have always wanted a sliding barn door and since the area is not really big, a sliding door for this area works great and allows us more space on the inside. We can open all the windows and the door and have an outdoor kitchen workshop when the weather is nice and still be able to fully lock the area up when we need to. My favorite piece is the cast iron sink centered in the wall. We bought it from someone on craigslist at an unbelievable price. The people obviously did not know its worth. It took us a couple of years to acquire all these items. It takes patience to find good deals or salvage items but I believe it is part of the fun and planning that goes into it all. It will also make good conversations when we have visitors over to sip a cold one at the bar this summer.